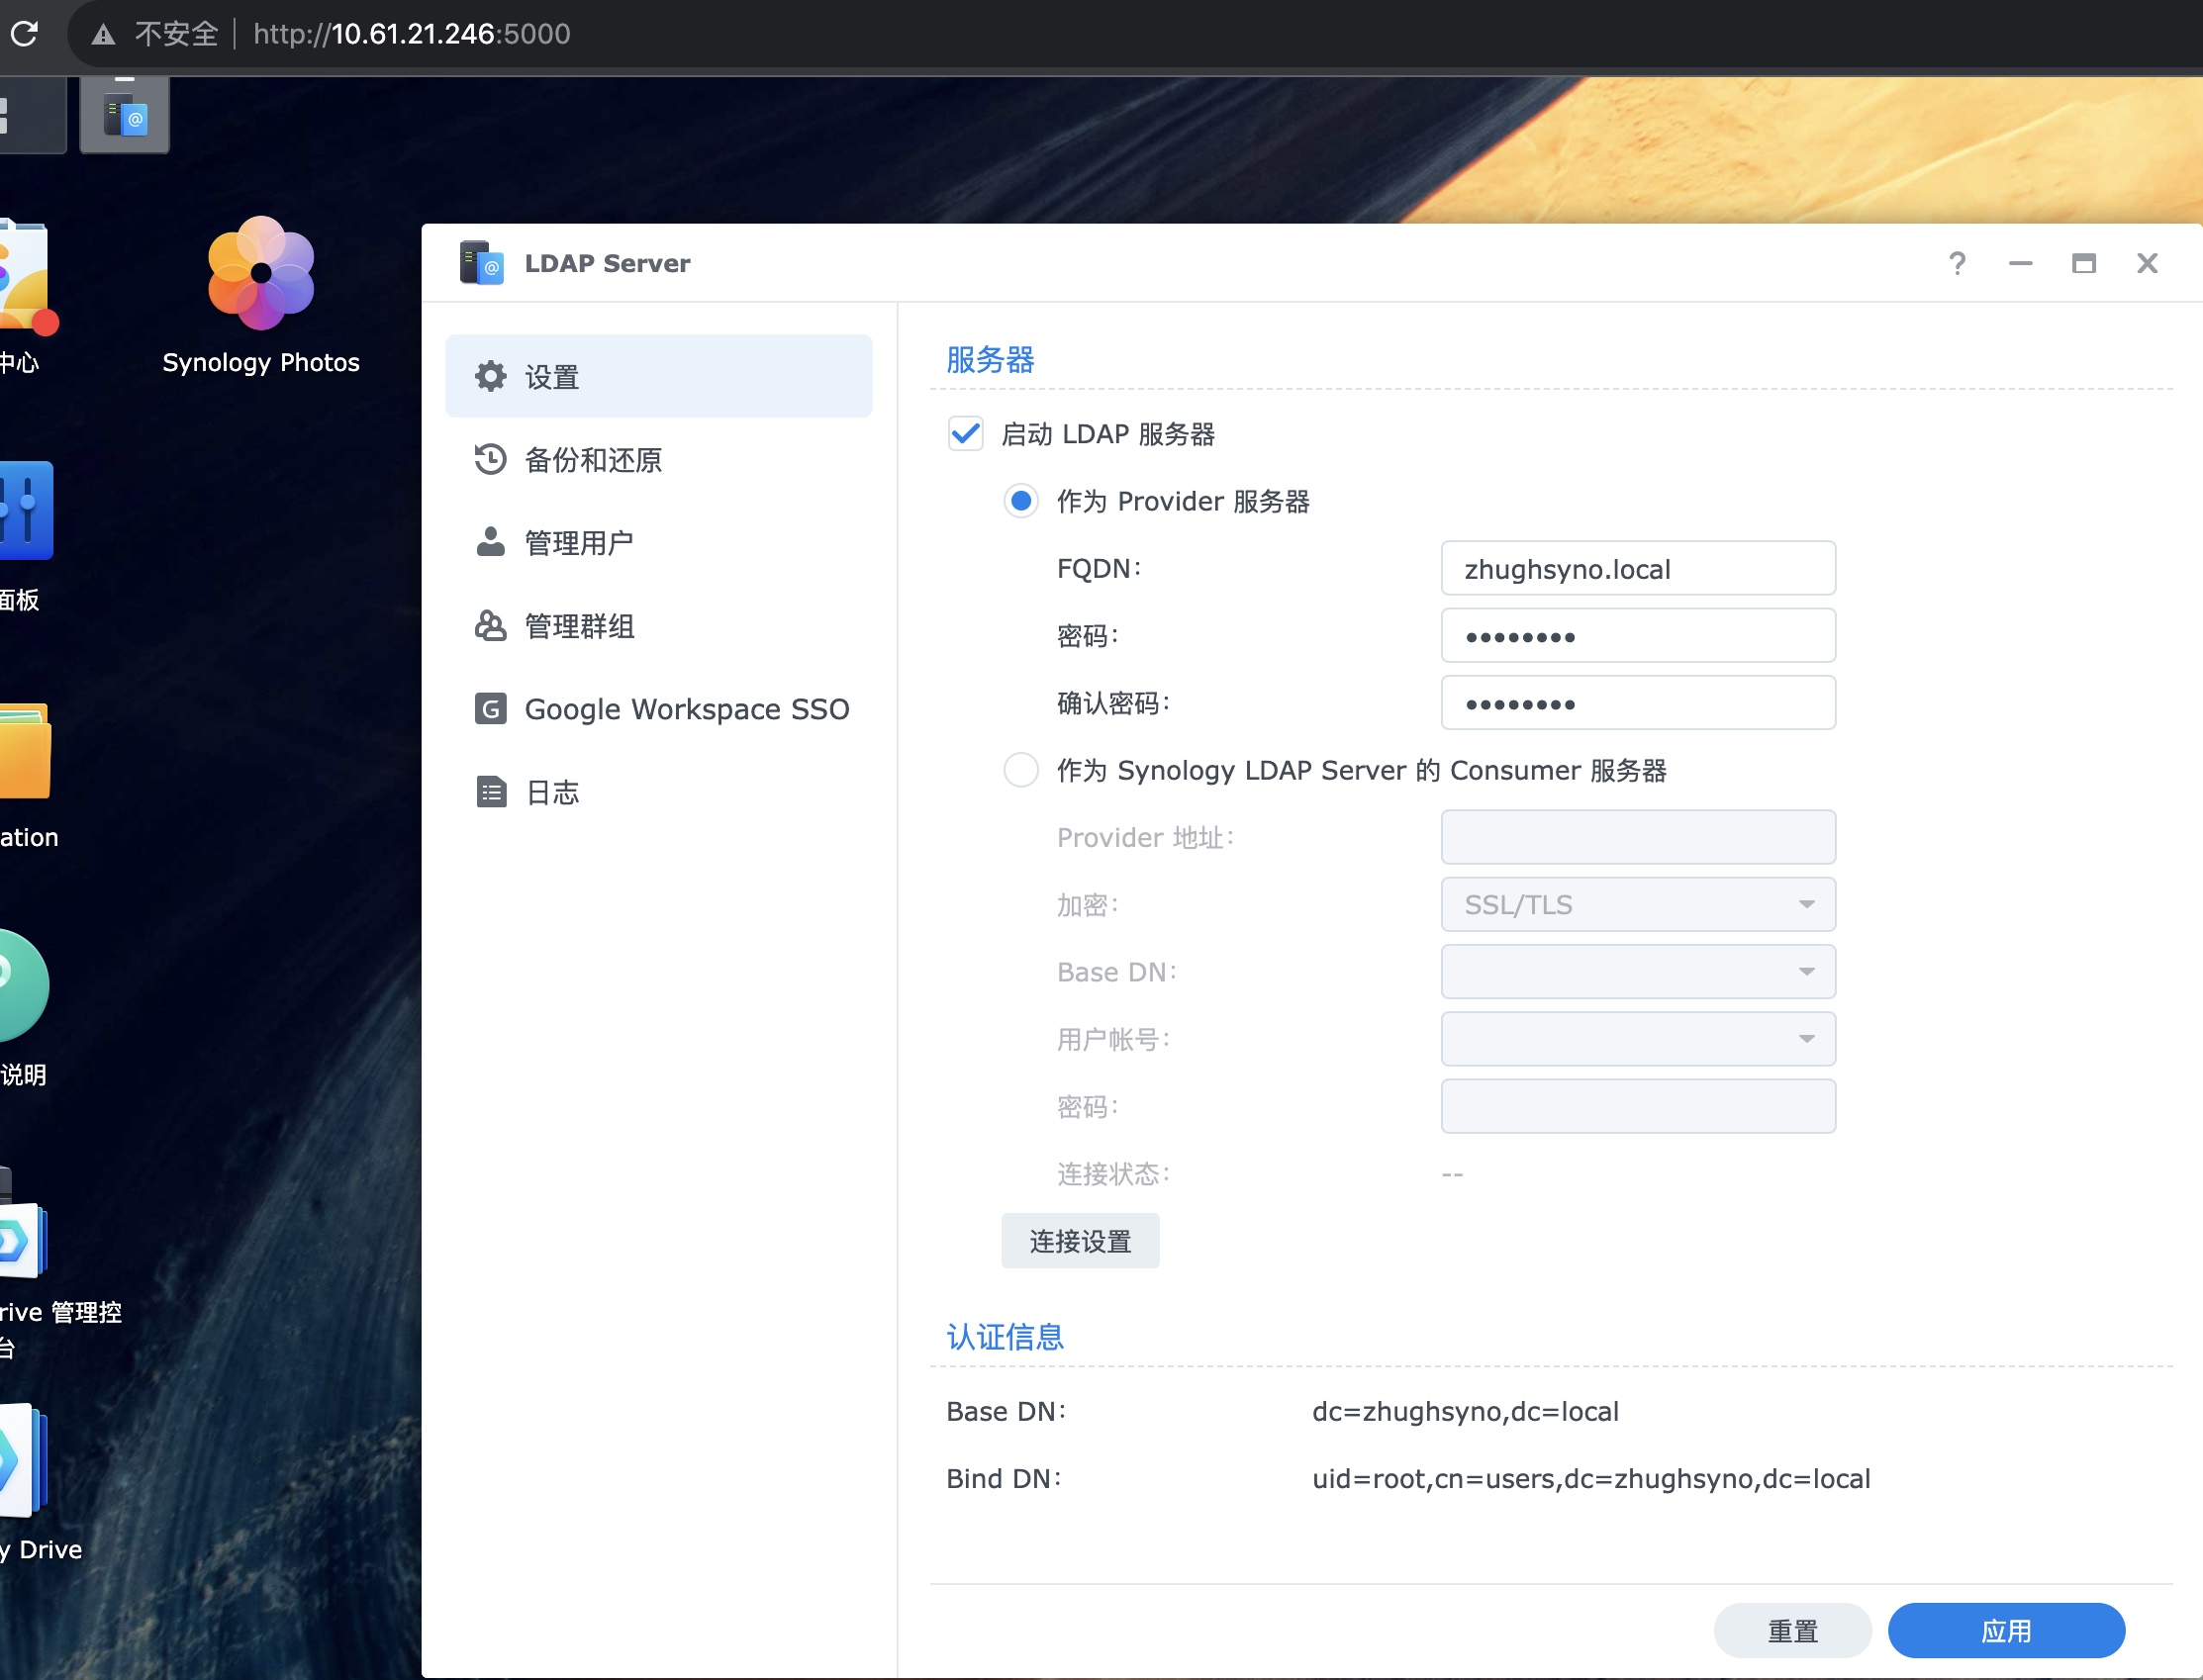
LDAP Server环境
FQDN:
zhughsyno.local
IP:
10.61.21.246
Base DN:
dc=zhughsyno,dc=local
Bind DN:
uid=root,cn=users,dc=zhughsyno,dc=local
Ubuntu 配置加入
检查与域控连接是否正常:
nc -zv 10.61.21.246 389

编辑Ubuntu的hosts解析,让LDAP域名可以正常解析到NAS:
/etc/hosts
10.61.21.246 zhughsyno.local
安装客户端:
apt-get -y install libnss-ldapd libpam-ldap nslcd ldap-utils
输入NAS的IP以及LDAP的端口:

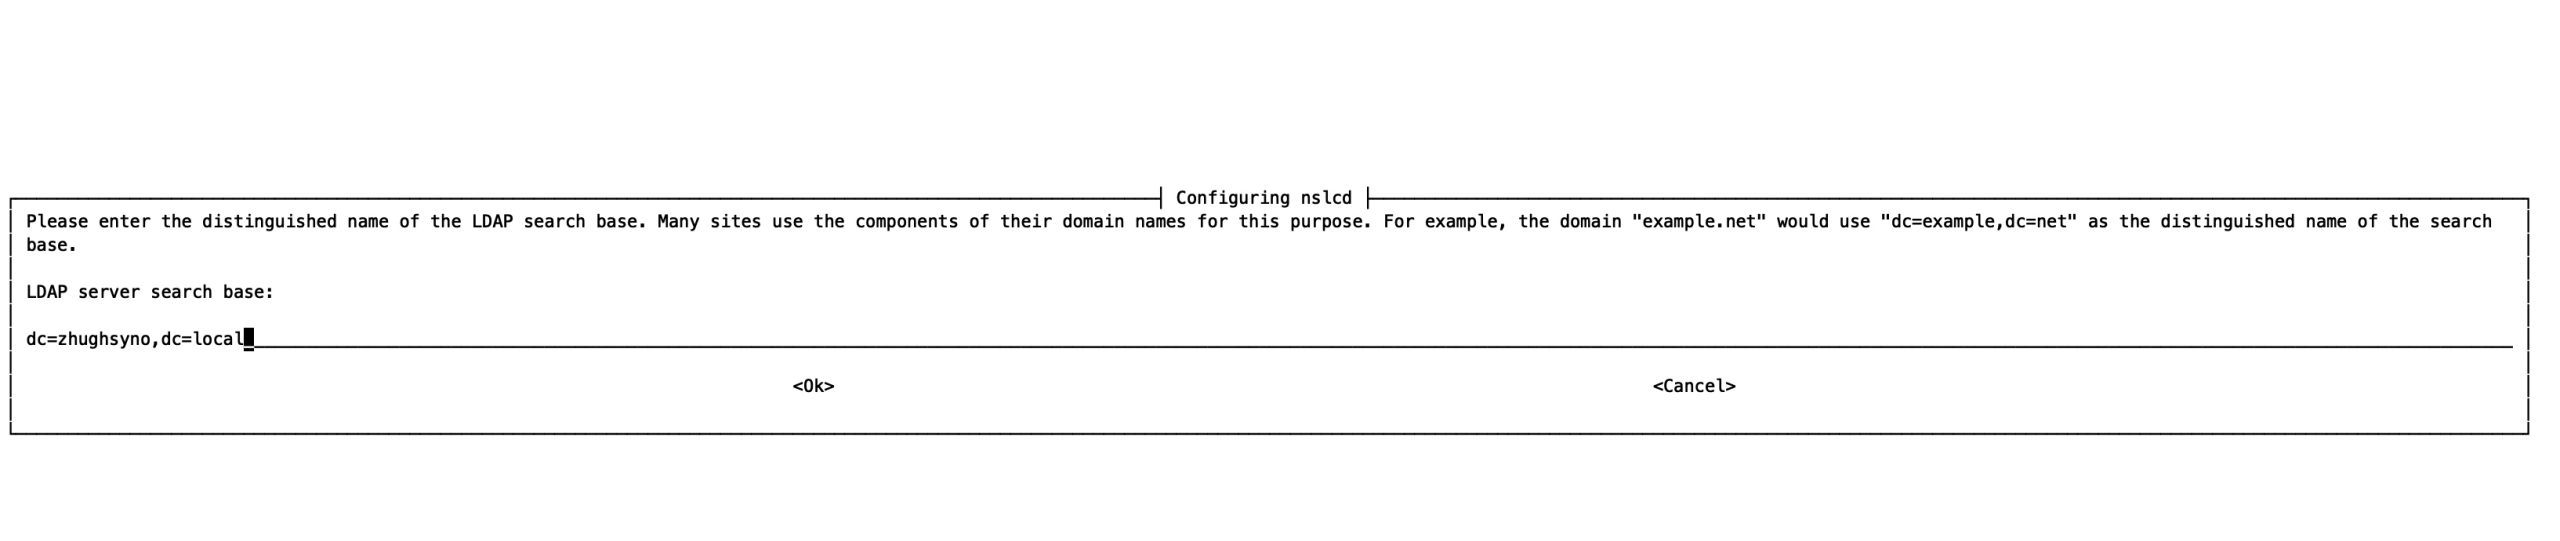
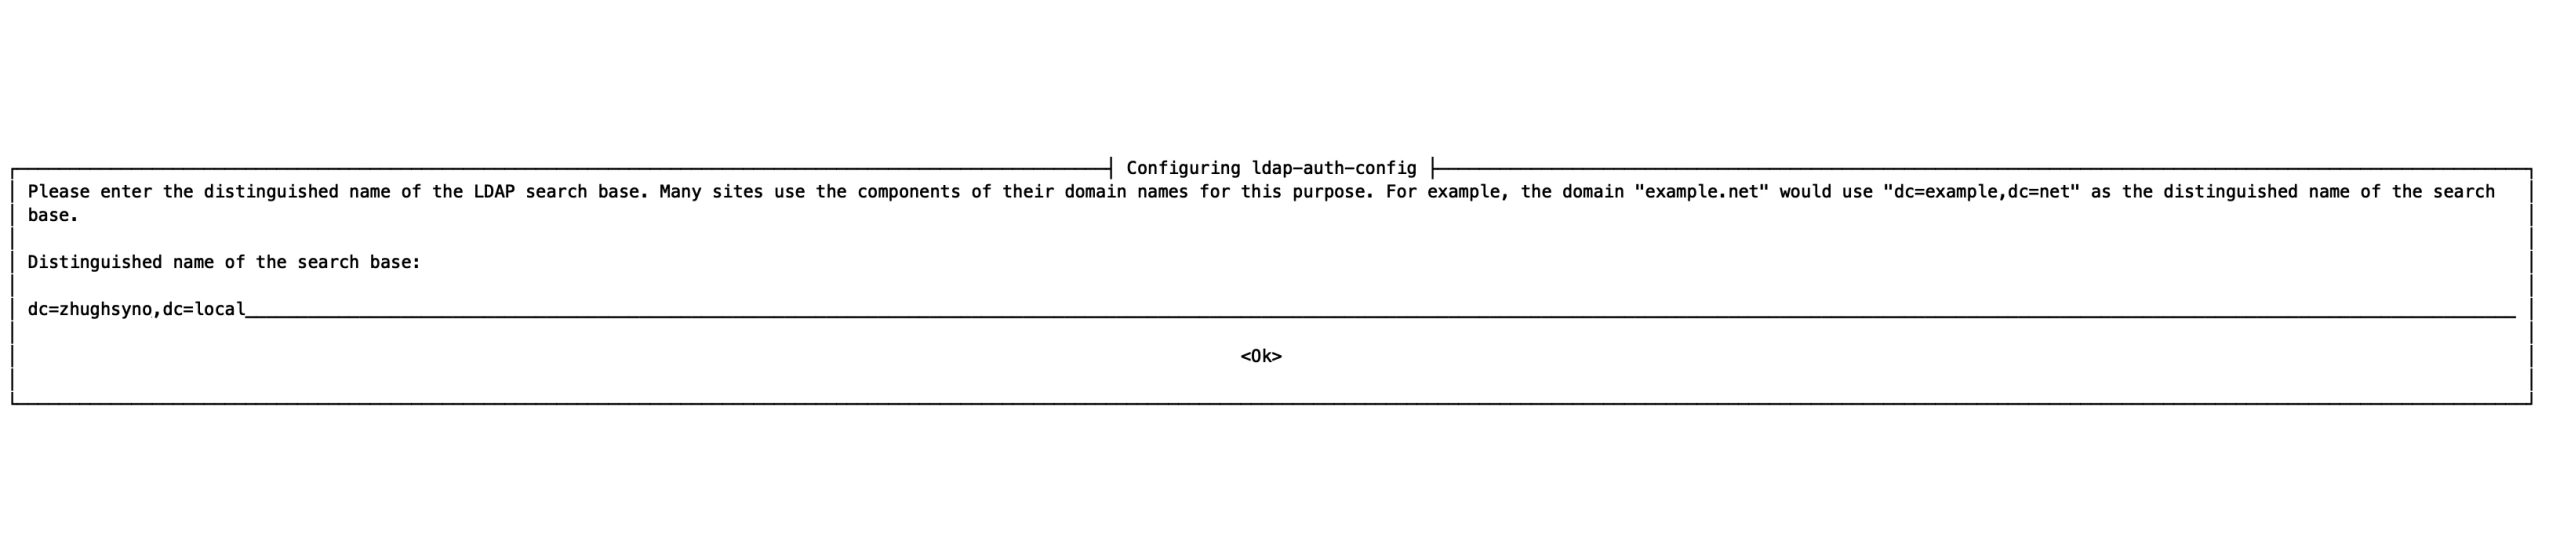
输入LDAP的Base DN:
输入NAS的IP以及LDAP的端口:

输入LDAP的Base DN:
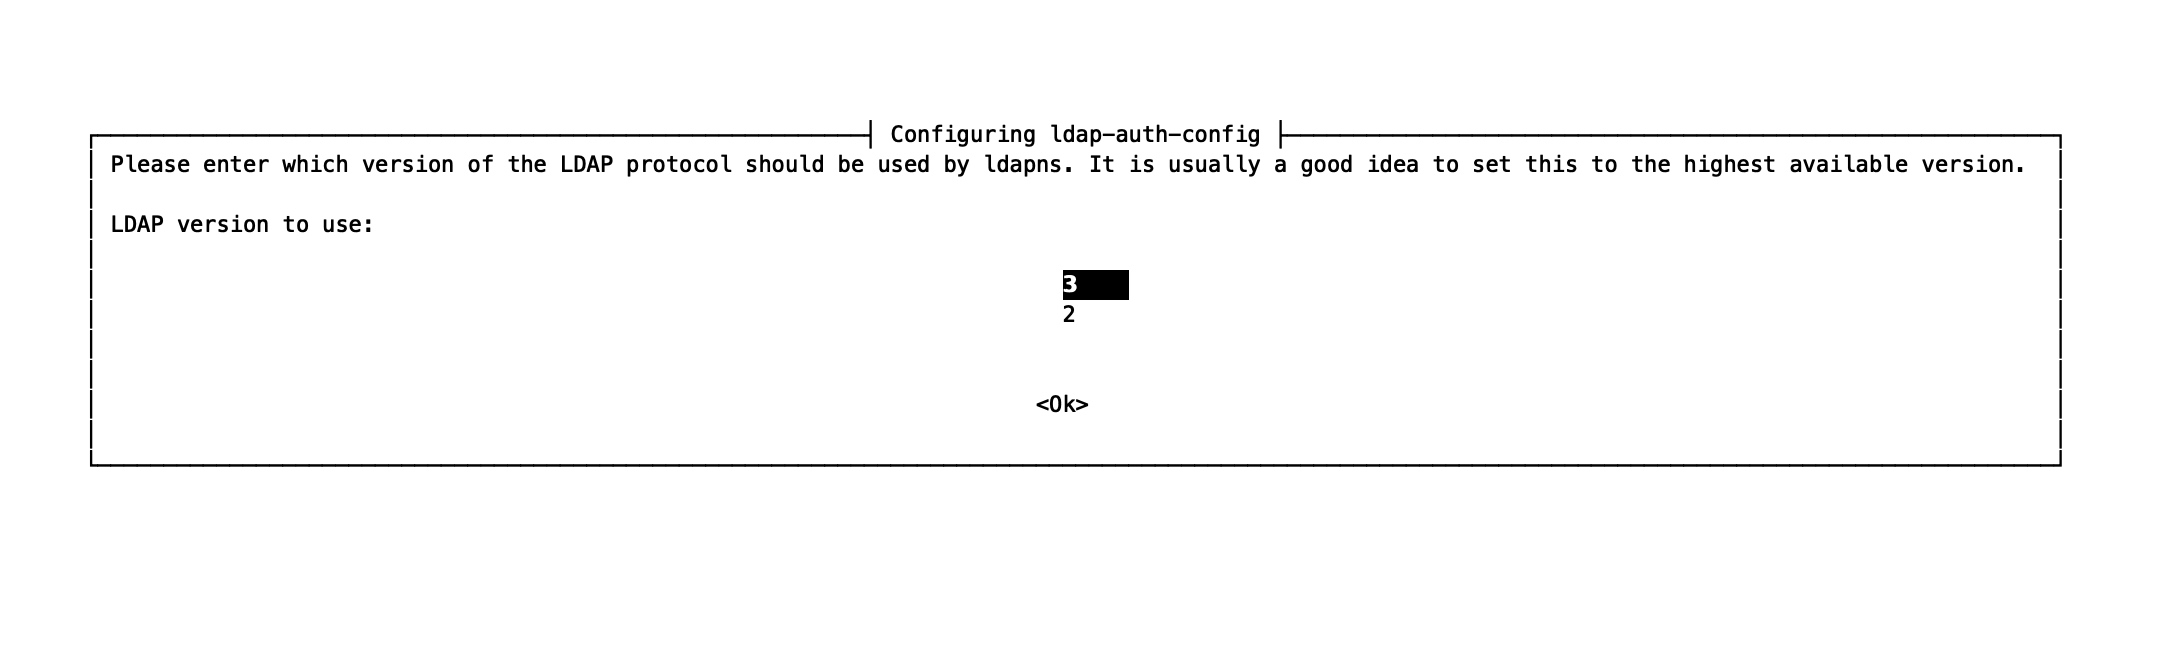
选择版本为3:
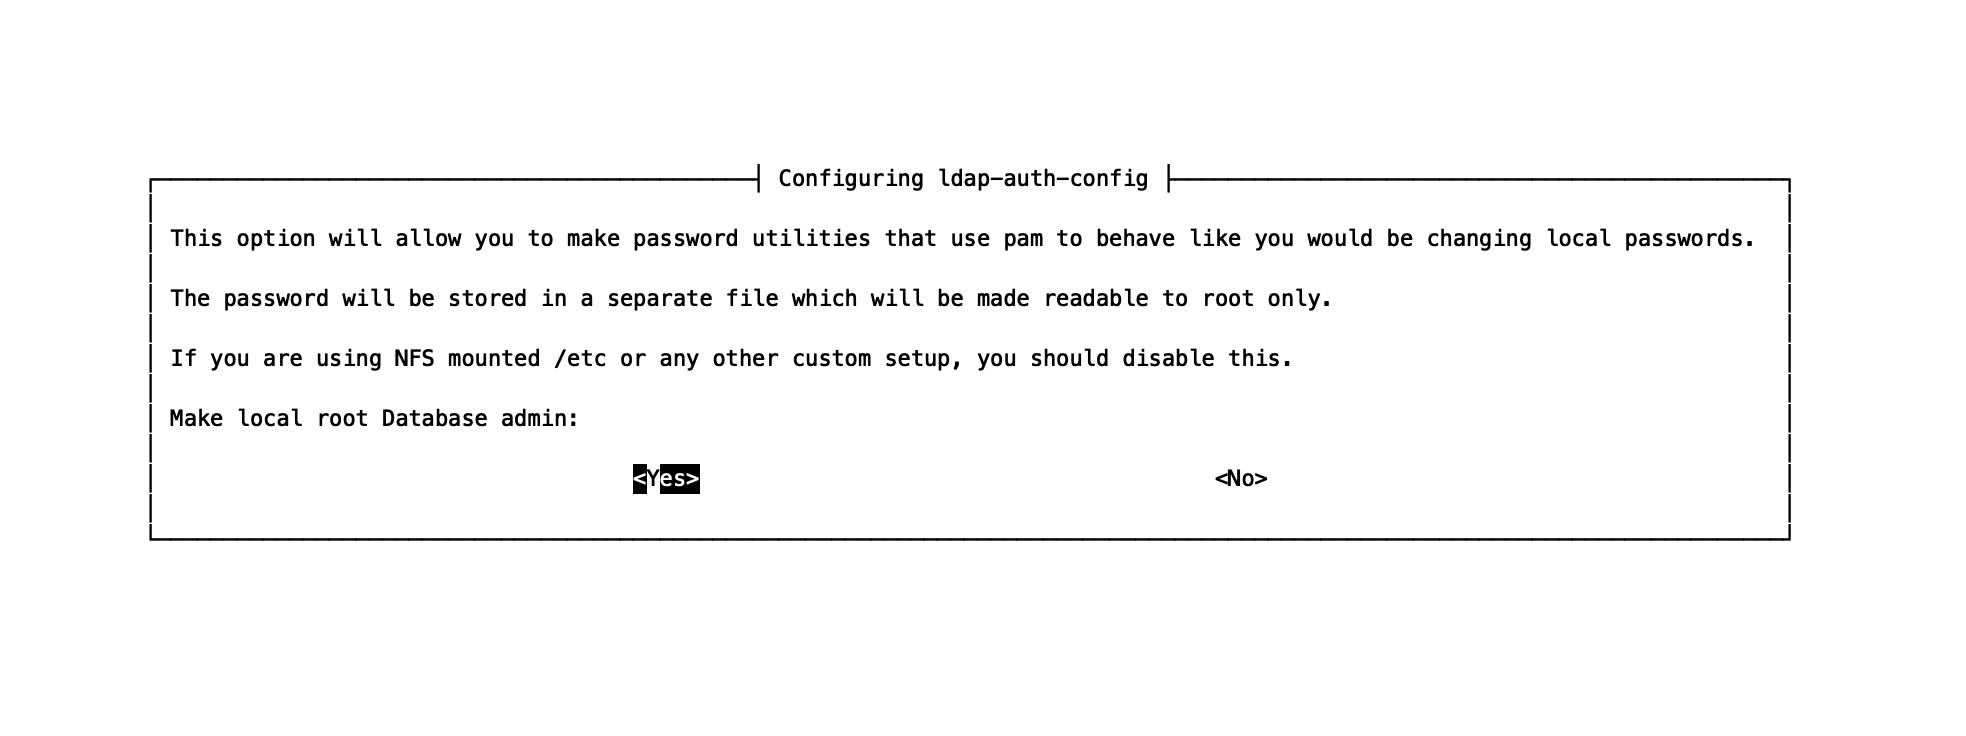
设置为本地数据库管理员选择是:
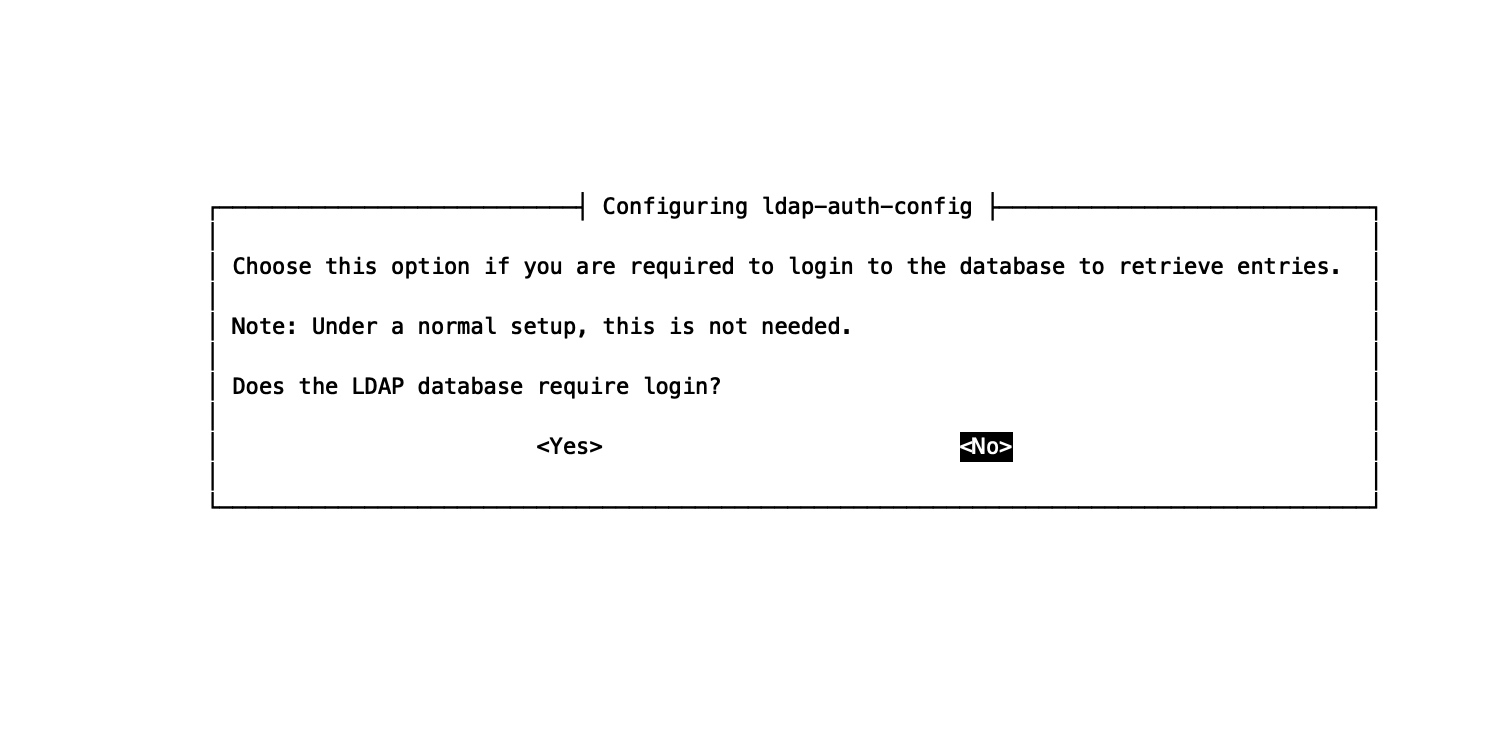
LDAP数据库是否需要登录选择否:
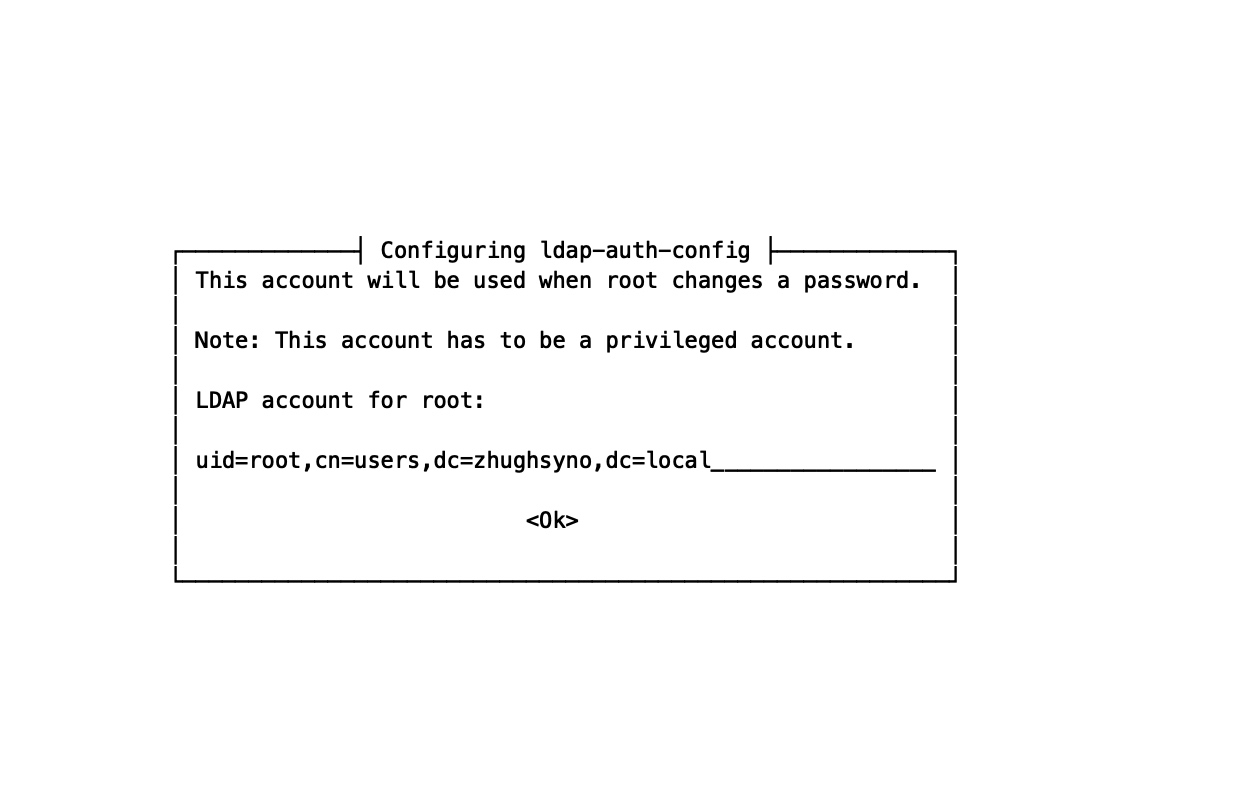
输入LDAP的Bind DN:
输入LDAP的root密码:

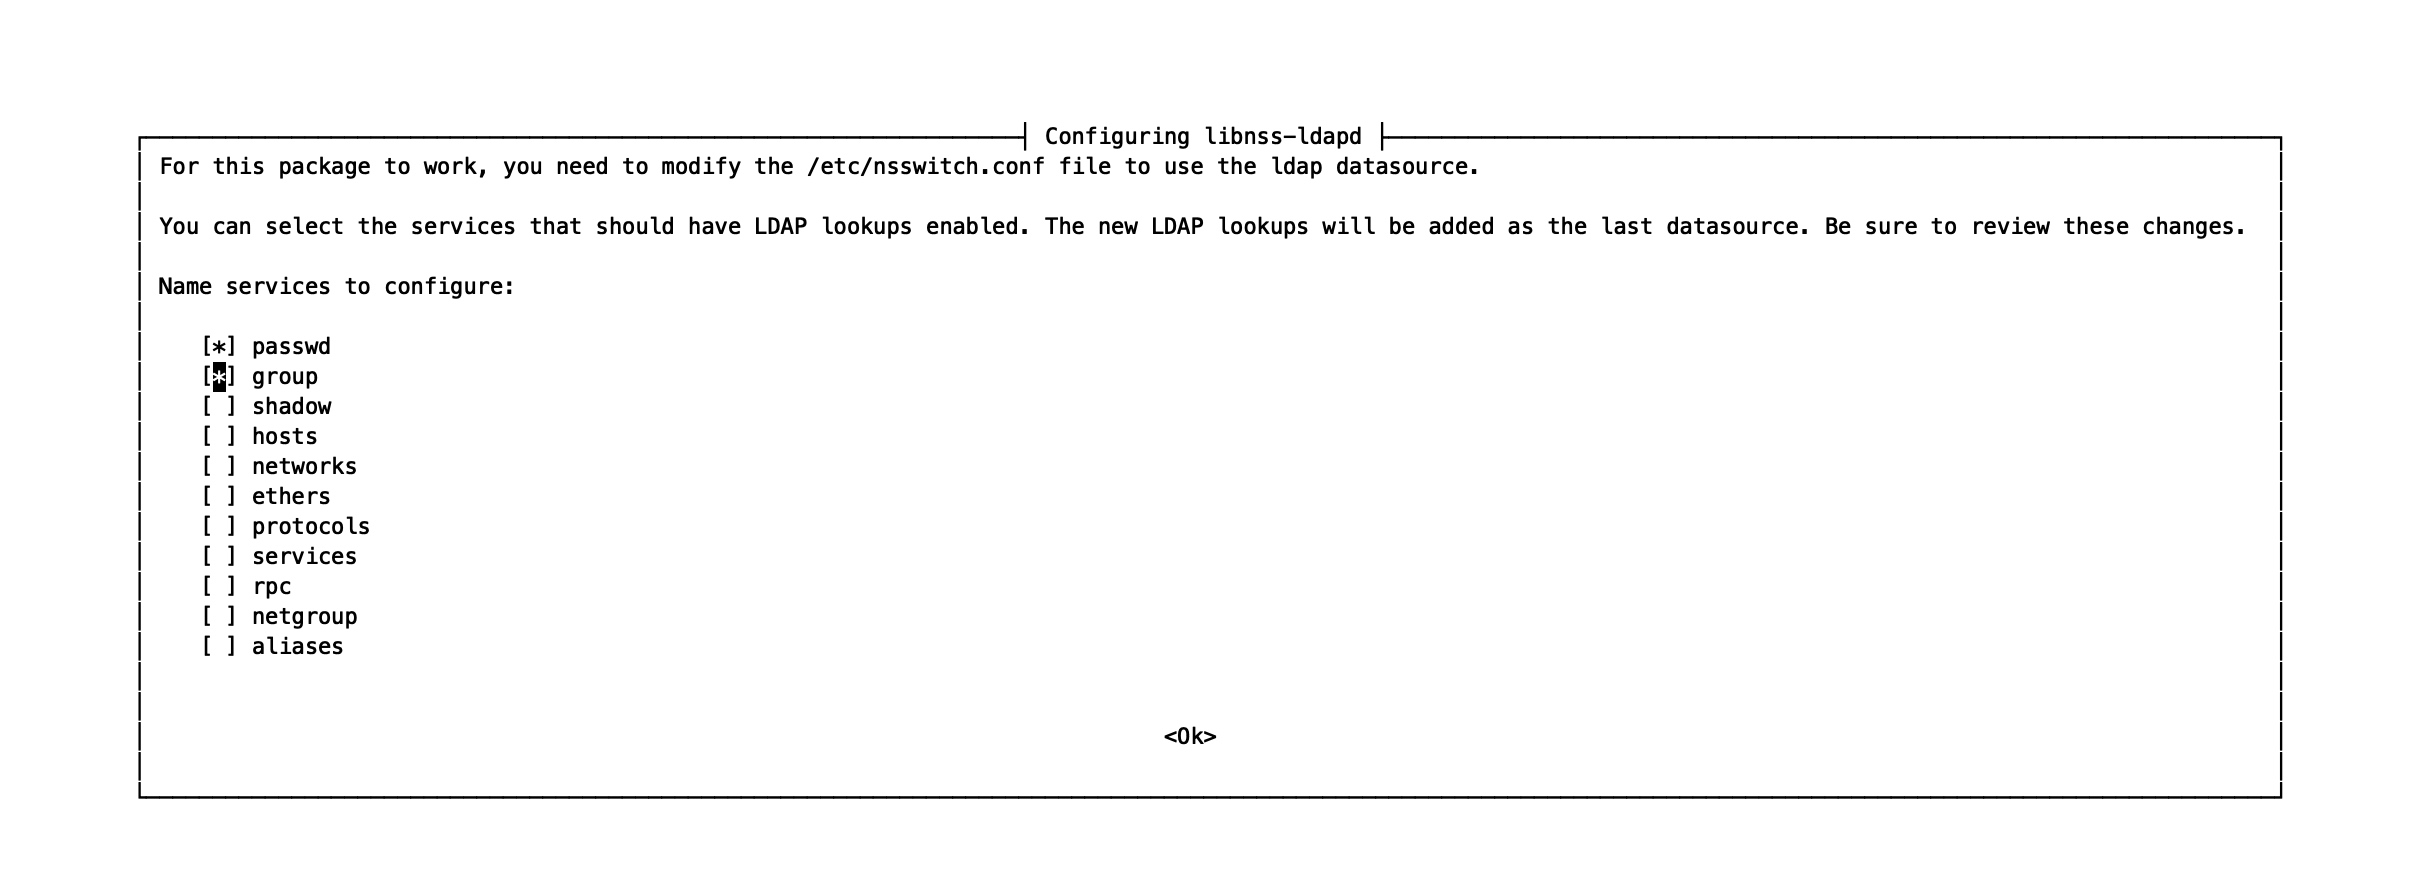
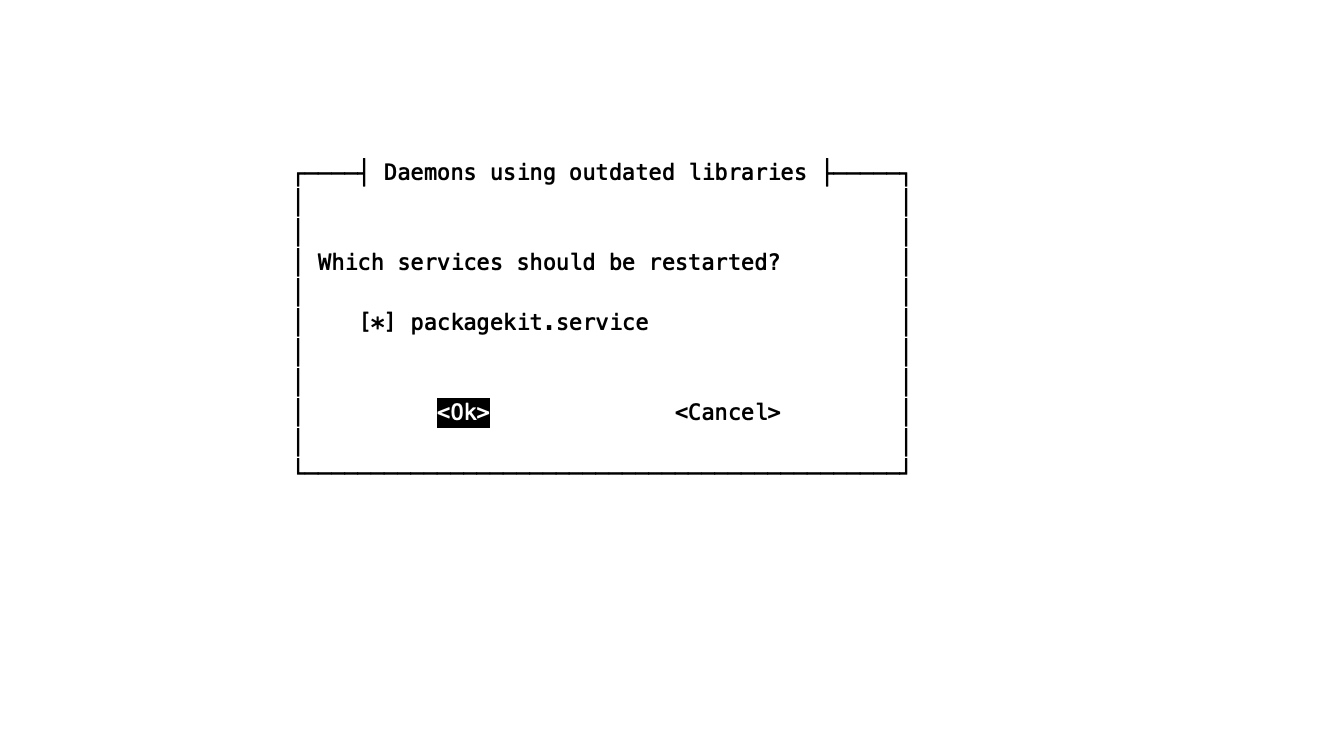
选择 passwd 和 group 以允许LDAP账号登录:
选择自动重启:
修改配置
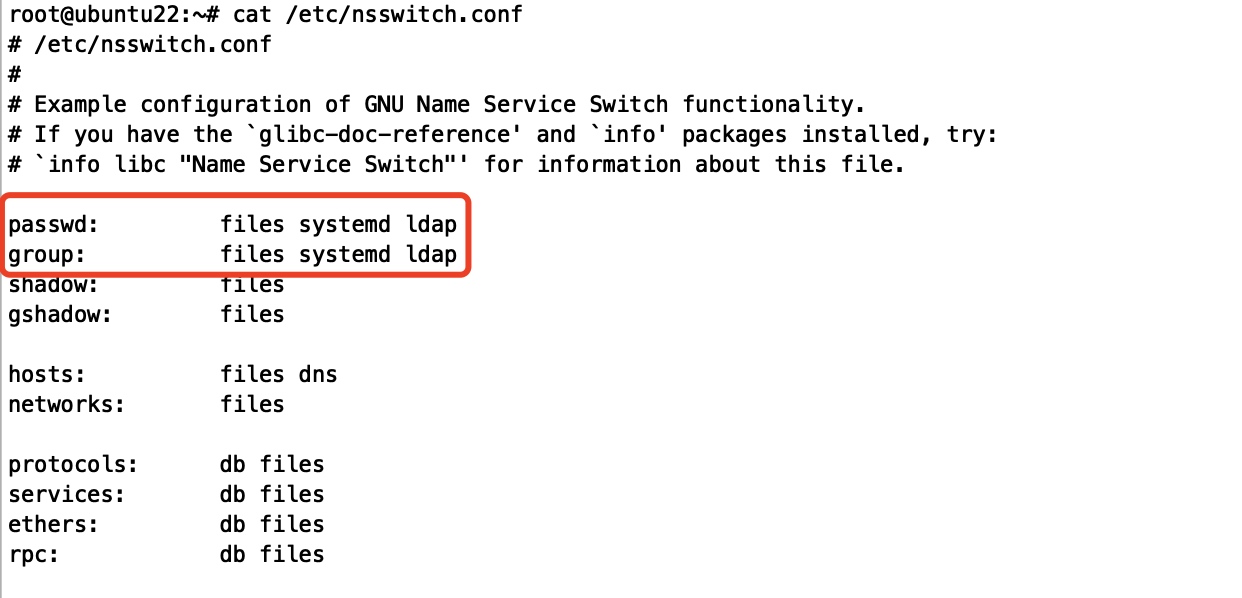
nsswitch.conf
/etc/nsswitch.conf
检查 nsswitch.conf 查看 passwd 和 group 行是否有允许 LDAP 身份验证
common-session
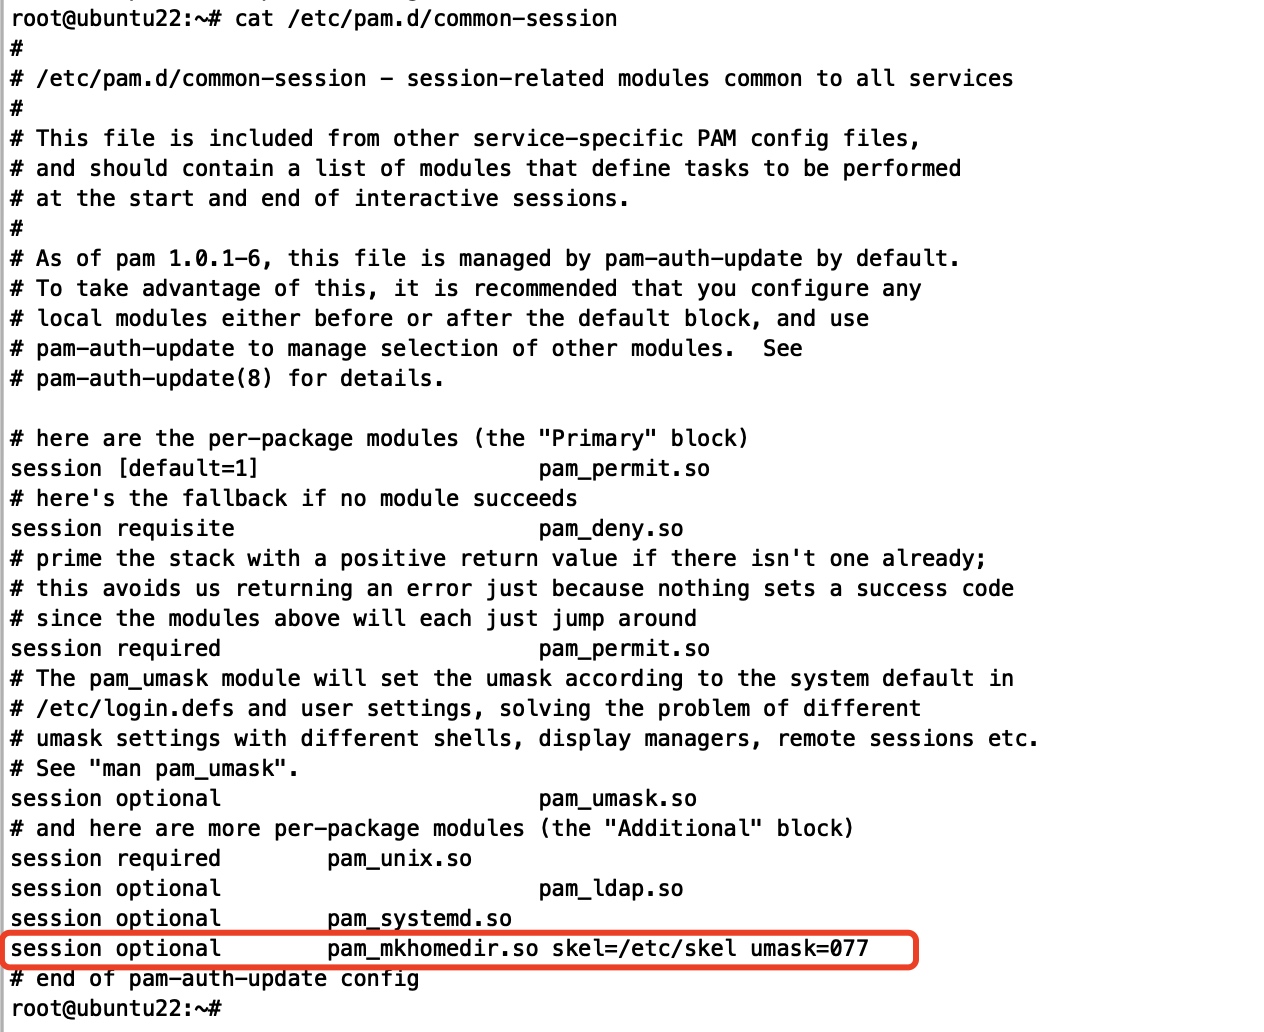
/etc/pam.d/common-session
修改common-session添加以下内容,在首次登录时自动创建用户home目录:
session optional pam_mkhomedir.so skel=/etc/skel umask=077
nslcd.conf
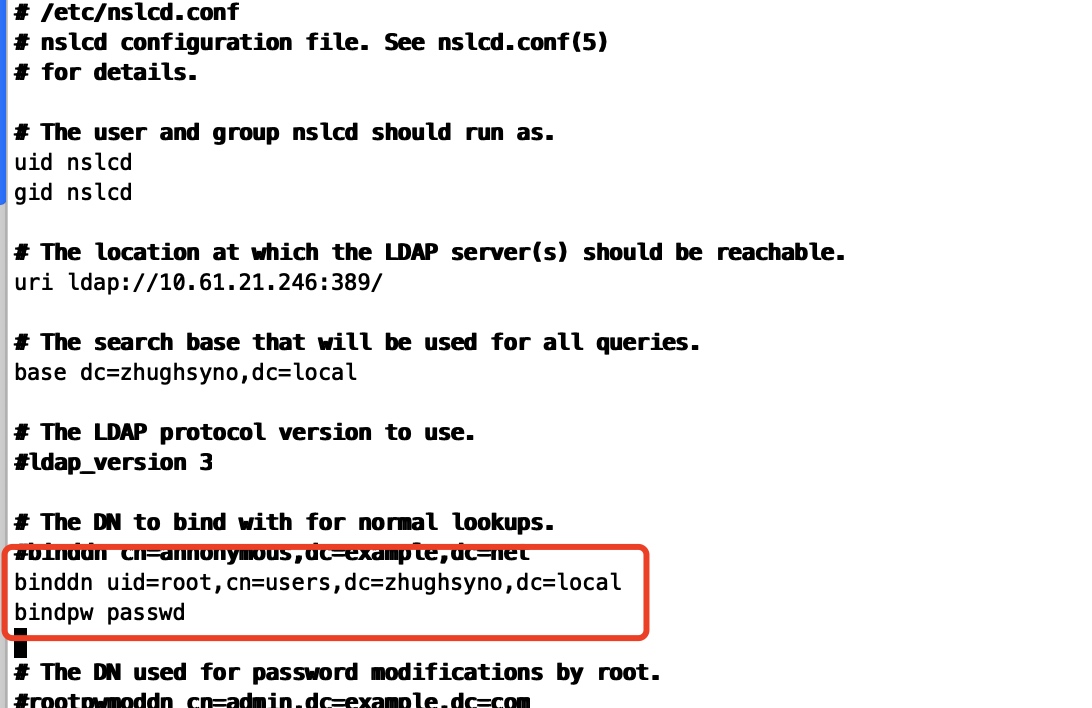
/etc/nslcd.conf
编辑nslcd.conf添加binddn以及bindpw,使用Bind DN和密码来进行身份验证,而不是匿名绑定。
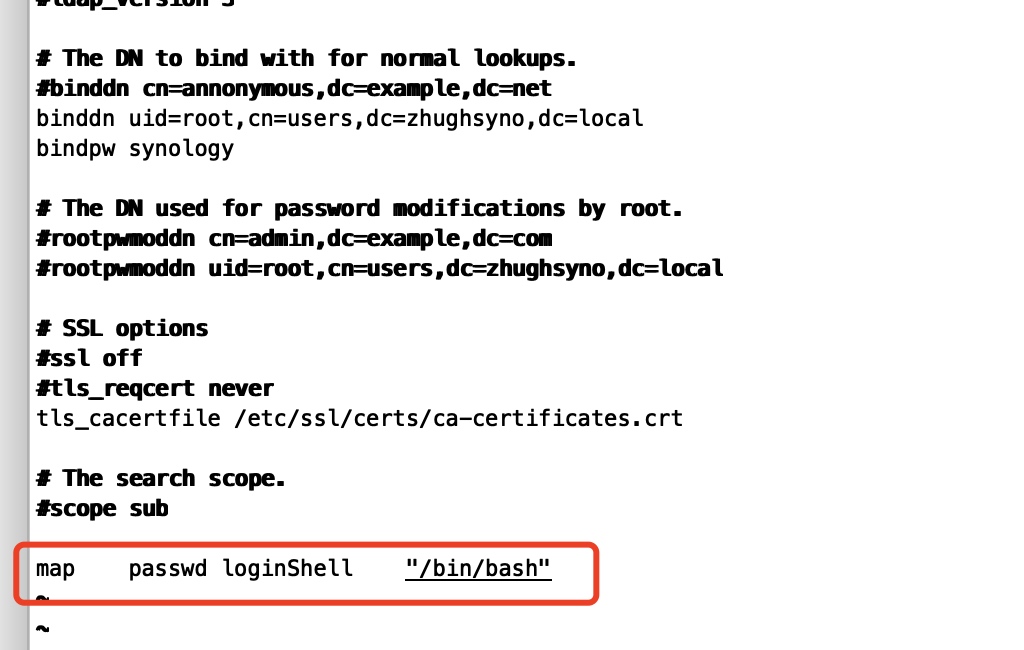
编辑nslcd.conf,调整用户loginShell以适配 Ubuntu
map passwd loginShell "/bin/bash"
重启进程生效:
systemctl restart nslcd
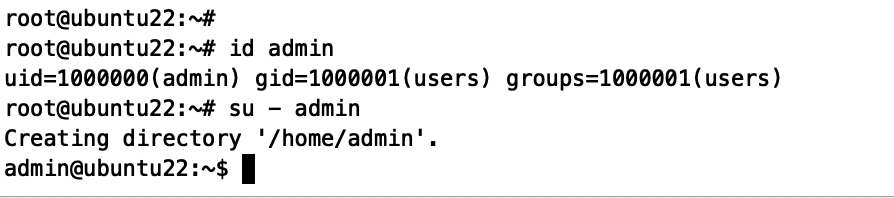
测试:
note
配置档
/etc/ldap.conf
/etc/ldap.secret
/etc/nscd.conf
/etc/nslcd.conf
卸载
apt-get -y --purge remove libnss-ldapd libpam-ldap nslcd ldap-utils